Halloween 2015- Harry Potter Style

Last year for Christmas, Ken got me all 8 Harry Potter movies. We then binged watched them, and it was awesome. Kenny even liked watching them (and we fast forwarded through the less-than-toddler-friendly parts.)

Ever since then, Kenny has been saying that he wanted to be Harry Potter for Halloween. And he actually stuck with it for basically the whole year. (Until a week before Halloween he said that he wanted to be an alien because we got a book from the library about a monkey who dressed up as an alien for Halloween… there was no way he was going to change that close to Halloween, though. And he did decide to be Harry Potter again. Phew.)

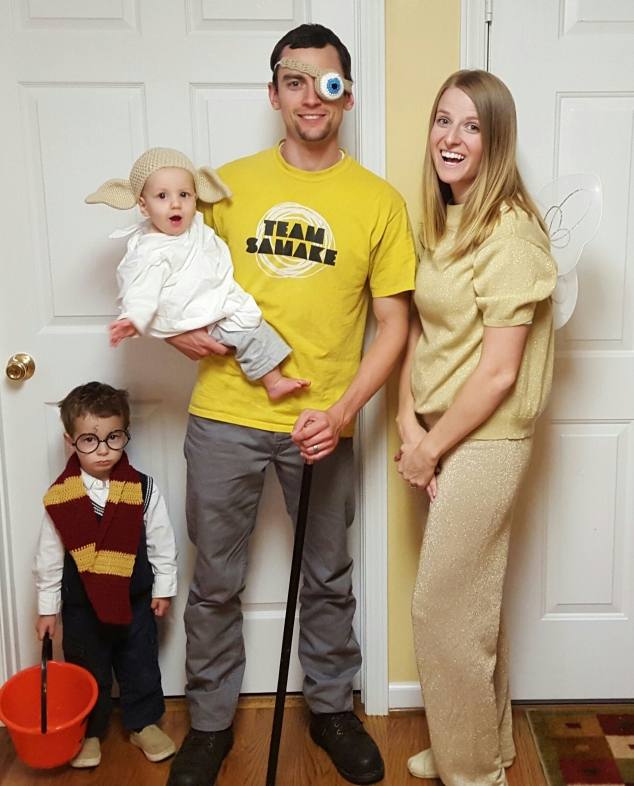
So Kenny was Harry Potter for Halloween, and Reed was Dobby, the house elf.

20151029_173236

Harry Potter and Dobby

20151029_173225

Harry Potter terrorizing Dobby. Dobby’s used to it, right?

20151029_173222

Harry Potter giving some advice to Dobby

Ken and I decided last minute to dress up, too. Ken went as Mad-Eye Moody, and I went as a golden snitch.

20151031_170245-1-1

Kenny was less than happy that we made him pose for a picture rather than go get candy.

It was a lot of fun to go trick-or-treating with the boys. We just stayed in our small little neighborhood.

20151031_180713

I couldn’t believe this “lazy man trick-or-treating”. There was a line of cars that was backed up way past the picture. I understand some of the reasons why this would need to happen, and I am sympathetical towards those exceptions . . . but I think it is fun to walk around the neighborhood and trick-or-treat. Call me old fashioned.

There was a house Kenny went up to that had a few teenage boys handing out candy. They saw “Harry Potter coming!” and so each of them grabbed a huge handful of candy and dumped it into Kenny’s bucket. Kenny was loving it.

So Halloween 2015 was a success! Kenny has already decided what he wants to be next year . . . and it has to do with a mutated squirrel. Hopefully I can talk him out of that lol.

Two Years in the Making


When Ken and I were engaged, we were trying to find furniture that was cheap but fairly decent to put in our soon-to-be unfurnished apartment. Ken’s sister, Suzanne, helped us by looking on KSL’s used furniture listings (thanks again!). She found a nice couch for $35. After getting lost for 45 minutes, we finally got to the house to pay and pick up the couch. The guy who was selling it to us found out that we were soon-to-be newlyweds, and so he gave us the couch for free. Yes, free. 

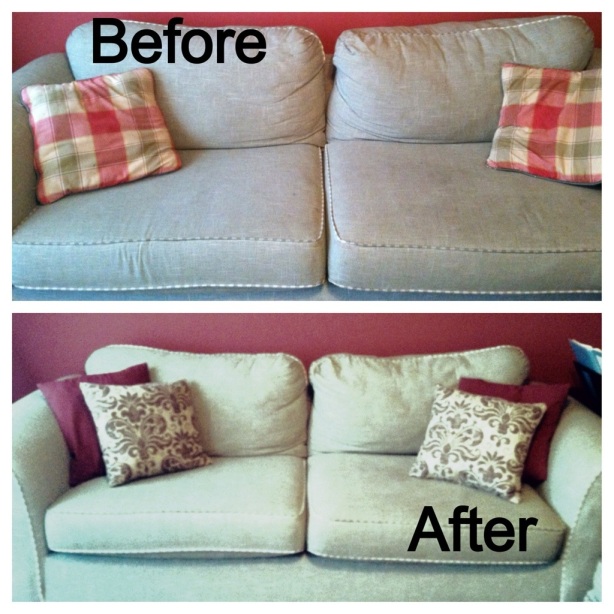
With the couch came some pretty worn (and filthy) pillows that clashed terribly with our loveseat pillows. But it was free, right? So we had no room to complain.

For the past two years, I’ve had recovering the pillows on my to-do list. And guess what? I finally got around to doing them!


I got the red fabric from the remnants section at the craft store for $6 a yard. The patterned pillows I got at a thrift store for $2 each. Love it! Makes it all the better.

Crafts

So before school started, I did a few more crafts that I just never posted on here.

I turned my two sizes too big bell-bottom khakis into something I can wear! This pair of khakis do not have belt loops for some strange reason. To fix it, I just sewed some elastic on the back, and now they fit great. To fix the ha-uge pant legs, I just took in the legs a bit. I found a pair of jeans that I like, lined it up against the khakis, made some marks, and then sewed on the inside of the leg (so that my poor sewing wasn’t too obvious). And . . .

Voila!

I also have displayed “you” on a black plaque now for a year. It came from our “thank you” sign we had for our wedding. Well, I finally got around to putting a quote on it that I like.

Since the wood sign was already painted black, all I had to do was print the quote on a colored piece of paper, cut it, and Mod Podge it onto the plaque. I applied a good amount to the back of the piece of paper, and then applied some onto the front as well. Tip: When you apply Mod Podge onto the front, make sure you do it in even, smooth strokes. And do not let your fingers touch it until it is completely dry . . . did that once or twice.

Toddler’s Dress

Guess what?! We leave for Cincinnati to see my family in five days! This is the longest that I’ve ever gone without seeing them. It’s been over a year. The last time I saw my fourteen-year-old brother he was shorter than me, and apparently he is about six-feet tall. Crazy!

We also are going to visit my new little niece, Marli, . . . oh, and my sister and brother-in-law . . . tomorrow. And we are going to be able to spend Christmas with Kenneth’s family as well! So happy that holidays are such a great excuse to visit family. Because of all the traveling, I am guessing this will be my last post until 2012.

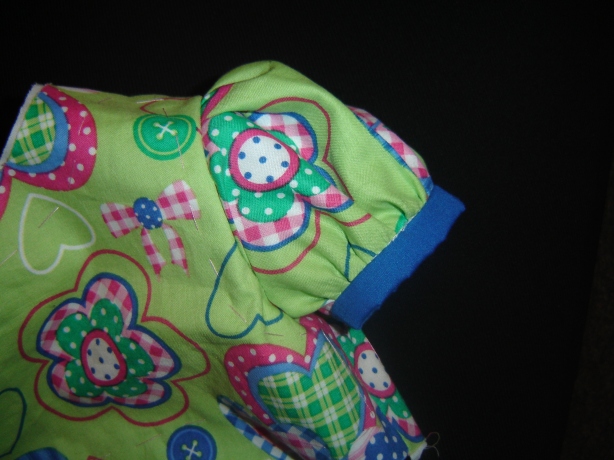
So the real point of this post- I have finally made enough progress on the toddler’s dress that I can post some pictures.

Here are some:

All I have to do is finish off the collar and tackle the zipper! Wish me luck! :)

Gingerbread House

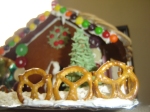
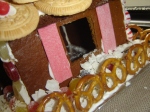
It is a tradition on Kenneth’s side of the family to make gingerbread houses every year from scratch, so we tried it out by ourselves (minus the wreath and Christmas tree that was made by my wonderful mother-in-law who is the master of gingerbread houses. Seriously, people. Hers are beautiful.)

I was pretty nervous and was a bit frazzled trying to make the gingerbread, but thankfully Kenneth came home just in the knick of time to help out, and it turned out great!

Do you like my artsy attempt of getting the real Christmas tree in the background?

Leaf Candles

Pinterest is the best thing ever! My favorite part is that you can “pin” cool craft ideas onto your board, so you can remember the steps to make whatever you want. I saw a cool idea for leaf candles on pinterest, so I tried it out. I bought some mason jars at D.I., then cleaned, dried, and mod podged leaves onto the outside of the mason jars.

Then you just put a tea candle into the jar. Here is the finished product-

So easy and it cost less than $2. It made for a pretty good pathway for trick-or-treaters.

Halloween Wreath

Since I am doing this internship this semester, I have more free time on my hands, so I have been doing some crafts. Here’s my latest project-

Remember those “Thank You” signs we had from our wedding?

Well, I just took the white sign, painted over it, and glued everything on. Pretty fun and way easy! :)

Recent Projects

I love doing crafts . . . call me an old, boring craft lady.  It’s okay, it doesn’t bother me.


I am not a creative person.  I am not musically inclined, and I think people sometimes question if I really am Mormon or not because I never grew up playing the piano, playing an instrument, or singing.  To try to prove that I am Mormon, I decided to take a beginning piano class . . . just kidding. I took it for other reasons.  I’ll save my thoughts on that class for another post.


Anyway, I am not artistic either. When I draw pictures, I feel obligated to sign them with my left hand because the art work is so poor that it looks like a five-year-old drew it.


The point I am trying to make is that one thing that I do like to do is crafts. My absolute favorite store is Campus Craft and Floral in the bottom of the Wilk. Sometimes when I am having a bad day, I go to Campus Craft and Floral and walk around. Such a fun store! It’s so cute, but it’s a little pricey. So I like to steal their ideas and make the stuff myself.


Here are some of the projects that I have done in the last month:


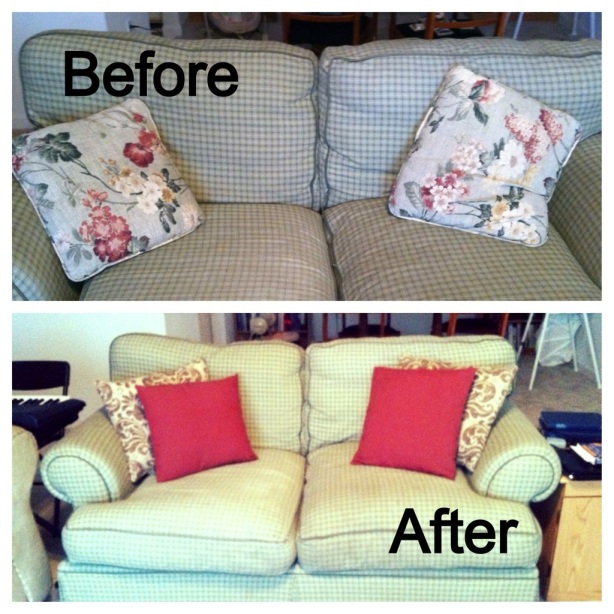
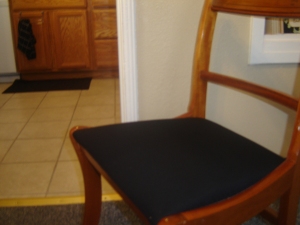
We got a table and chairs for free (thanks KSL!), and they are in pretty good quality. The chair fabric was a little battered, though, so I reupholstered them.

This is what they looked like before. And after,

It was a lot of fun, and not too hard at all! Plus, I got the fabric for a way good deal! $3 a yard!


Also, here are some cute little Valentine’s Day decorations:

And then this floral arrangement:


So there you have it. You know how to win me over. Just get me a gift card to Michael’s, Jo-Ann, or Robert’s.